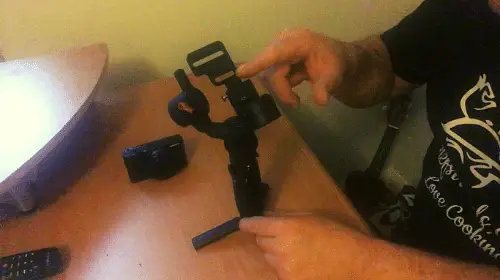
How do I connect my Sony camera to Zhiyun Crane 2?
Without this connecting screw your crane is of no use to you and filming that requires the gimbal is not going to happen. Strange as it may seem, I am so glad this happened to me before I went travelling. I frantically searched the internet but could not find one anywhere. Finally, I found some and have now got spares just in case I lose it again.
Smallrig Stainless Steel Camera Mounting Screw
Having used this set-up for over a year now, I am pleased to say I made the right choice for a vlogging camera and gimbal. As always there are always a few cons to everything, and this set up does have its own (Very few I’m pleased to say.)
The small mounting nut is not connected to the gimbal and although this does not present a problem it can result in the nut being misplaced or lost. Without this mounting nut you might as well use the gimbal as a paperweight as it will not be possible to connect your camera to the mounting plate on the gimbal.
No matter how careful and organised you are, I guarantee that at some point in time you will lose or misplace this attachment nut. (I know as it happened to me.) For this reason alone, I strongly advise buying a couple of spares as it could make the difference between a great day making a video and missing out on a good shoot.
Do not leave home without spares.
How to attach your camera using a smallrig Connection Bolt
Place your camera on the connection mount with the lens facing the straight edge of the mount. Using the small rig connection bolt, attach the camera to the mount through the small slot on the mounting bracket.
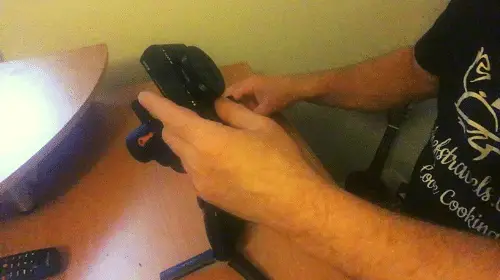
Turn the camera on so you get a true balance, then using the adjustable nuts on the gimbal balance the camera pointing upwards then fasten all the nuts securely. make sure the camera is well balanced as failure to do so will result in the gimbal not functioning and keep turning itself off.
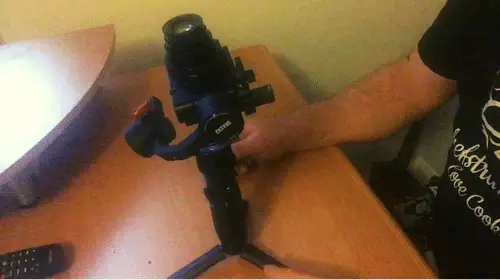
when you have finished making all the balancing adjustments, turn on the gimbal using the on/off switch on the gimbal and you are ready to start filming. If the gimbal turns off, check your balancing again and make sure the swivel lock at the top of the gimbal is turned to on.
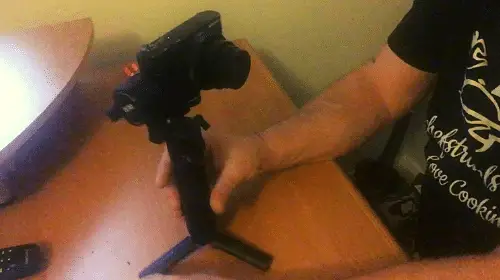
How do you put a camera on a gimbal?
This can very quiet considerably depending on the set up you are using. For the setup we are using in this tutorial the camera sits on a purpose designed plate and is then bolted together using a connection Bolt.
More advanced set ups may come with purpose-built connections to suit certain cameras and may be designed specifically for those cameras so it would be advisable to check compatibility prior to making a purchase.
Taking into consideration the built-in sensitivity of the gimbal, balancing the camera correctly is paramount for the gimbal to perform effectively. Make sure all locking devices including the swivel lock are all turned on as this could also result in the gimbal turning itself off automatically.
What may seem a daunting task to begin with, Soon becomes second nature with regular use and practice. I hope you have found this post useful and thank you for reading it.

Kevin Harrington is a keen photographer, blogger, and professional chef for over 40 years. With a passion for cooking and travel, Chefstravels was born. Thank you for visiting my site and I wish you every success in what you do.
Chefstravels is a free website. We are not sponsored, and all our reviews and recommendations are from research and personal experience. many of our links are affiliate links, this means we may get small commissions on purchased items at no extra expense to you. This helps support our channel so we can bring you more free information. Thank you for your support.


